
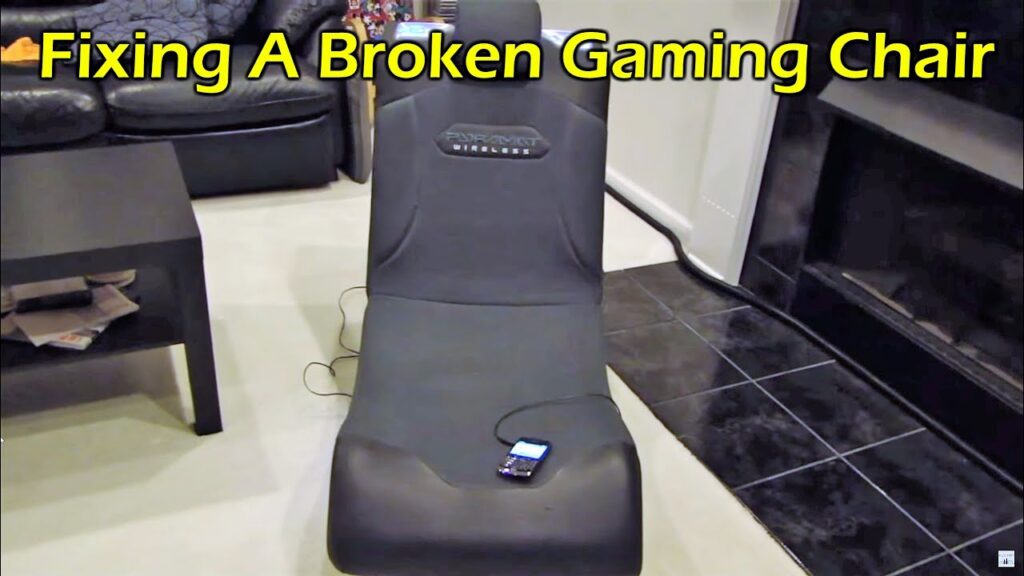
Welcome to the ultimate guide on how to fix ax rocker gaming chair If you’ve found yourself facing issues with your beloved gaming throne, fear not – we’ve got you covered. In this comprehensive guide, we will walk you through the step-by-step process of troubleshooting and repairing common problems that may arise with your Ax Rocker gaming chair. Whether it’s power and connectivity issues, audio glitches, or structural concerns, we’ll provide you with the knowledge and tools needed to bring your gaming chair back to life. So, grab your toolkit and let’s dive into the world of DIY chair repair, ensuring you can get back to an immersive and comfortable gaming experience in no time.
How to fix ax rocker gaming chair
There are several steps to learn how to fix ax rocker gaming chair, and these steps are as follows:
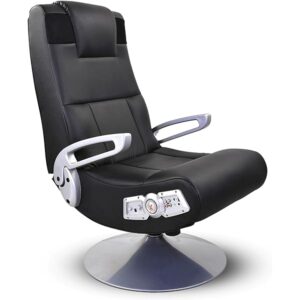
Understanding the Ax Rocker Gaming Chair
Welcome to the heart of the repair process – understanding your Ax Rocker gaming chair. Picture this:
- You’re in the midst of an intense gaming session, and suddenly, your trusty chair isn’t quite as reliable as it used to be. Let’s break down the components and decode the language of your gaming
- Take a Seat and Observe: Begin your exploration by simply sitting in your chair. Pay attention to any wobbling, instability, or unusual sounds.
- Inspect the Upholstery and Padding: Examine the upholstery for tears, wear, or damage, Check the padding for consistency and comfort.
- Examine the Base and Frame: Turn the chair over to inspect the base and frame. Look for loose screws, bolts, or any signs of structural issues.
- Navigate the Control Panel: If your chair has a control panel, familiarize yourself with its functions. Test each button to ensure proper responsiveness.
Best Budget Gaming Monitor for Xbox Series S
Decoding the Ax Rocker Gaming Chair
Investigate Audio Components: Trace the audio connections and locate speakers, Ensure all audio components are securely connected.
- Identify Power Sources: Locate the power source, whether it’s a battery pack or power cord. Confirm a stable power supply for the chair.
- Refer to the Manual (if available):C heck the manufacturer’s manual for specific details about your chair, Look for troubleshooting tips or common issues.
- Document Your Findings: Take notes on any issues you observe during this exploration. This documentation will be valuable as you move forward with the repair process.
- Understanding your Ax Rocker gaming chair is like deciphering a code, and this step sets the foundation for effective repairs.
- By taking the time to familiarize yourself with the chair’s components, you empower yourself to address issues with precision.
- Now, armed with knowledge, let’s move on to the next steps and bring your gaming chair back to life.
Tools and Materials
Now that we’ve familiarized how to fix ax rocker gaming chair, it’s time to gather the tools and materials needed to perform some chair CPR. Don’t worry; you won’t need a high-tech workshop – just a few essentials to bring your Ax Rocker back to its glory:
Step 1: Tool Check
Start with the basics: a screwdriver, pliers, and a set of Allen wrenches.
Ensure they’re in good condition; a sturdy tool is your best ally in this mission.
Best budget gaming monitor for laptop
Step 2: Additional Tools
Depending on the chair model, you might need a multimeter or a soldering iron.
Don’t fret if you don’t have these – we’ll keep it simple.
Step 3: Spare Parts
Check for any spare screws, nuts, or bolts you might have lying around.
If not, a quick trip to the local hardware store can be a lifesaver.
See price for Razer gaming chair https://amzn.to/3NZxgWW
Step 4: Lubricants and Cleaners
For squeaky joints or dusty corners, grab some lubricant and a gentle cleaner.
A well-lubricated and clean chair is a happy chair.
Step 5: Replacement Parts (If Necessary)
Identify the specific parts causing issues and check if replacements are needed.
Reach out to the manufacturer or online sellers for spare parts.
Step 6: Workspace Setup
Clear a well-lit and spacious area to work on your chair.
A clutter-free zone ensures you won’t lose any screws in the chaos.
See price for Dowinx gaming chair https://amzn.to/3U03Mfo
Step 7: Safety First
Consider safety gear, especially if you’re dealing with electrical components. A pair of gloves and safety glasses can prevent unexpected surprises.
Now, with your tool arsenal assembled and workspace ready, you’re all set for the next stage of this DIY adventure.
Remember, this isn’t just about fixing a chair; it’s about reviving a crucial part of your gaming haven. So, grab those tools, put on your DIY cap, and let’s get hands-on with rescuing your Ax Rocker gaming chair.
Best budget gaming monitor for ps4 this year!
Sound Dilemmas? Unveiling Solutions for Your Ax Rocker’s Audio Mysteries
Now, let’s tackle one of the peskiest issues – audio quirks. If your gaming chair is whispering when it should be roaring or making mysterious crackling sounds, fear not. We’re diving into the audio realm with practical steps to restore the soundtrack of your gaming adventures.
Listen Carefully
Sit in your chair and listen keenly to any audio irregularities.
Identify if the issue is a lack of sound, distortion, or unexpected noises.
Trace the Cables
Follow the audio cables from the chair to their source.
Ensure they are securely connected to your gaming device.
Inspect the Speakers
Locate the speakers on your chair.
Check for any physical damage or loose components.
See price for Ulody gaming chair https://amzn.to/48PUWoD
Audio Source Test
Connect your gaming device to an alternative audio source.
Confirm if the issue persists, helping identify the source of the problem.
Adjust Volume Controls
Check for volume controls on both the chair and your gaming device.
Ensure they are set at appropriate levels and not muted.
Reconnect or Replace Cables
If cables are damaged or frayed, replace them.
Reconnect all audio cables securely to eliminate connectivity issues.
Check External Devices
Test the chair’s audio with different external devices.
This helps rule out issues with specific gaming platforms.
Speaker Replacement (If Necessary)
If all else fails, consider replacing the speakers.
Contact the manufacturer or find compatible replacements online.
Imagine the satisfaction of hearing the immersive sounds of your favorite game restored, as you dive back into your digital realm. Every tweak you make is a step closer to reclaiming the full audio experience of your Ax Rocker gaming chair.
By the end of this step, your chair should be singing in perfect harmony. So, put on your troubleshooting hat, follow these steps, and let’s bring back the symphony to your gaming sanctuary.
Cleaning and Maintenance Tips
Your Ax Rocker has been through epic gaming battles with you, but every hero needs a little care. Let’s dive into the cleaning and maintenance rituals that will keep your gaming throne in top-notch condition:
- Clear Your Workspace: Find a well-lit area to give your chair a little TLC and Clear the space to avoid losing screws or small parts during the cleaning process.
- Dusting Off the Dust Bunnies: Start by dusting off the entire chair with a soft, dry cloth and Pay special attention to crevices and seams where dust tends to gather.
- Upholstery Love: If your chair has fabric upholstery, use a fabric cleaner or a mild detergent mixed with water and for leather chairs, a leather cleaner or a mix of water and mild soap will do wonders.
Cleaning and Maintaining Your Ax Rocker Gaming Chair”
Wipe Down the Surfaces: Take a damp cloth to wipe down hard surfaces like armrests, control panels, and the base and be cautious around electronic components to prevent damage.
- Lubricate Moving Parts: Keep things moving smoothly by applying a silicone-based lubricant to any moving parts and Focus on areas like the swivel mechanism and reclining features.
- Check for Loose Screws and Bolts: Tighten any loose screws or bolts you come across during the cleaning process and A little tightening now can prevent wobbles later.
Conclusion
Congratulations on successfully navigating the journey to revive your Ax Rocker gaming chair! With each step, you’ve demonstrated resilience and dedication to maintaining your gaming sanctuary. Whether you tackled power issues, conquered audio quirks, or simply gave your chair a well-deserved cleaning, your efforts have not gone unnoticed.