
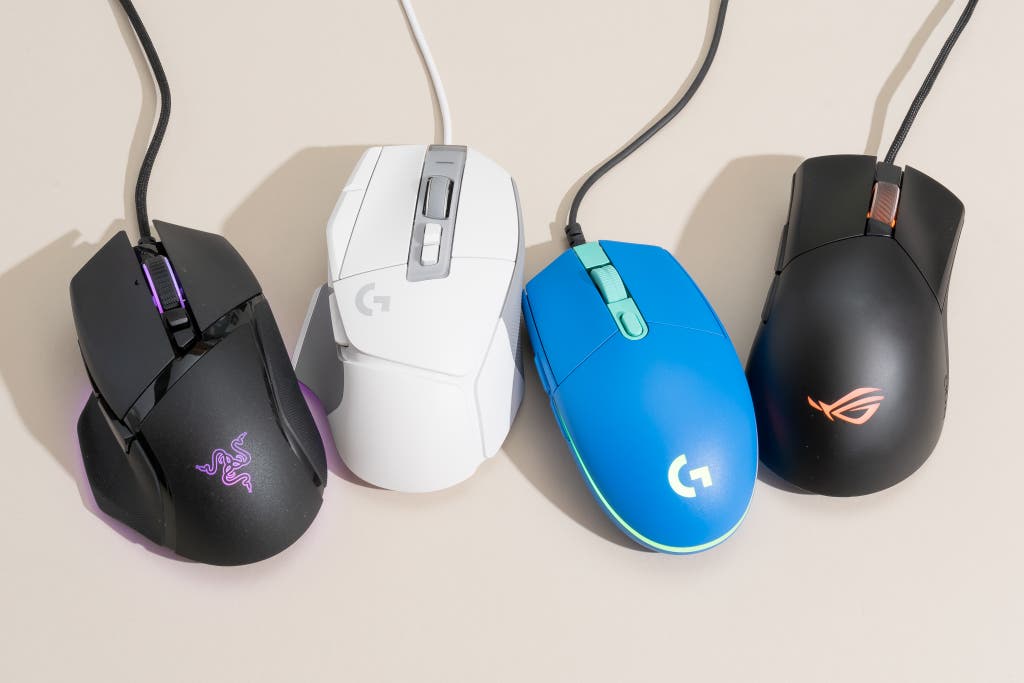
In the dynamic world of gaming, precision and responsiveness are paramount. Yet, even the most reliable plastic gaming mice can encounter hiccups along the way, affecting your gameplay experience. Fear not, as we embark on a journey to demystify the process of fixing a plastic gaming mouse. Whether you’re dealing with unresponsive buttons, erratic cursor movements, or connectivity issues, this guide is your compass to navigate through the troubleshooting terrain. So, let’s roll up our sleeves, delve into the intricacies of mouse mechanics, and revive your trusty gaming sidekick to its full glory. It’s time to ensure every click is on point and every movement is a seamless extension of your gaming prowess. Let the fixing begin.
How to fix a plastic gaming mouse
Your gaming mouse has been through battles, and its feet are showing signs of wear. Don’t worry; it’s a natural part of the gaming journey. Now, let’s roll up our sleeves and give your mouse the swift, smooth glide it deserves, Here are the steps to learn how to fix a plastic gaming mouse:
Step 1: Recognizing the Signs
Take a close look at your mouse feet. Are they scratched, uneven, or downright worn out? If so, it’s time for a change. Worn feet can hinder your gaming performance, so identifying the issue is the first crucial step.
Step 2: Gather Your Tools
Before we dive into the operation, make sure you have the right tools. You’ll need replacement mouse feet (easily found online), a flat-head screwdriver, and a little patience. Clear your workspace, ensuring good lighting for precision.
See price for ASUS gaming mouse https://amzn.to/499qfez
Step 3: Preparation for Surgery
Power down your computer and unplug the mouse. Lay it on a soft surface, ensuring it won’t slide around. We’re about to give your mouse a facelift.
Step 4: Gentle Removal of Old Feet
Using the flat-head screwdriver, carefully lift the edges of the old mouse feet. Go slow, and if they’re adhesive, they should peel off easily. Take your time; there’s no rush in this delicate process.
Step 5: Cleanse and Prepare
With the old feet removed, you might find some sticky residue. Gently clean the surface with a mild adhesive remover or rubbing alcohol. Ensure the surface is dry and pristine before moving on to the next step.
See price Razer gaming mouse https://amzn.to/41XMOQS
Step 6: Applying the New Feet
Unbox your new mouse feet, and align them carefully with the feet outlines on your gaming mouse. Once satisfied with the placement, press down evenly to ensure a secure attachment. Think of it as giving your mouse a new set of shoes for a smoother dance on the gaming pad.
Step 7: Patience, Padawan
Resist the urge to test your newly-equipped mouse immediately. Allow the adhesive on the new feet to set for a few hours. This patience ensures a secure bond, preventing any future slip-ups.
Step 8: Return to Battle
After the waiting period, plug your mouse back in, power up your computer, and marvel at the newfound glide. Your gaming mouse is now ready to conquer virtual realms with renewed vigor.
Congratulations, you’ve successfully replaced your mouse feet, and your gaming experience is set to reach new levels of precision and fluidity. May your victories be swift and your movements seamless.
Step-by-Step Guide: Addressing Faulty Buttons
Your trusty gaming mouse has been your loyal companion through countless battles, but lately, it seems some of its buttons have decided to take an unscheduled break. Fret not, for we’re about to embark on a mission to revive those clicky comrades:
Step 1: Assess the Situation
Take a moment to identify which buttons are misbehaving. Is it the primary click, side buttons, or perhaps the scroll wheel? Knowing the specifics will guide us through the troubleshooting process.
Step 2: Check for Warranty Coverage
Before you don your repair hero cape, check if your gaming mouse is still under warranty. If it is, the manufacturer might offer a replacement or repair, saving you from getting your hands dirty.
Best budget gaming monitor for ps4 this year!
Step 3: Gather the Right Tools
If warranty coverage is a no-go, it’s time to gather your tools. You’ll need a small Phillips-head screwdriver, a flat surface to work on, and a soft cloth. Prepare your workspace for a bit of button surgery.
Step 4: Unplug and Power Down
Ensure your gaming mouse is unplugged, and your computer is powered down. Safety first! Now, lay your mouse on the soft cloth, ready for inspection.
Step 5: The Delicate Operation
Start by carefully removing the screws usually hidden beneath the mouse’s glide feet. Gently peel back or lift these feet, revealing the screws that hold your mouse together. Keep them in a safe place; they’ll be needed for reassembly.
Step 6: Button Inspection and Cleaning
Once inside, inspect the buttons for any visible issues – dust, debris, or wear. Clean the buttons and their housing with a small, dry brush or compressed air. Sometimes, a little dust is all it takes to cause button hiccups.
Step 7: Reassemble the Troops
With your buttons cleaned and inspected, it’s time to reassemble the mouse. Carefully screw everything back together, ensuring a snug fit. Press the glide feet back into place, and your mouse is ready for action.
Step 8: Test and Triumph
Plug your gaming mouse back in, power up your computer, and give those buttons a test run. Click, double-click, and scroll with the satisfaction of knowing you’ve revived your trusty companion.
Your gaming mouse is back in the game, ready to respond to every command with newfound vigor. Remember, a little care and attention can go a long way in ensuring your gaming peripherals stand the test of time. Happy gaming.
See price for Glorious PC Gaming Race Mouse https://amzn.to/3RS7vcp
Scroll Wheel Maintenance
Your gaming mouse has been your loyal ally, navigating through virtual worlds with precision. But lately, the scroll wheel has been a bit finicky, putting a damper on your gaming adventures. Fear not, as we embark on a straightforward journey to bring life back to that essential scroll wheel:
Step 1: Diagnose the Issue
Before we dive into action, let’s pinpoint the problem. Is the scroll wheel sticking, not scrolling smoothly, or being outright unresponsive? Understanding the issue will guide our approach.
Step 2: Unplug and Power Down
To ensure a safe and smooth operation, unplug your gaming mouse and power down your computer. This prevents any accidental clicks or scrolls during the maintenance process.
Step 3: Gather Your Tools
For this mission, you’ll need a can of compressed air and a clean, small brush. These tools will help you dislodge any debris that might be causing the scroll wheel unrest.
Best budget gaming monitor for laptop
Step 4: Blow Away the Cobwebs
Hold your gaming mouse at a slight angle, exposing the scroll wheel. With the can of compressed air, give the scroll wheel a gentle but thorough blast. This should dislodge any dust or debris that may have found its way into the wheel mechanism.
Step 5: Precision Brushwork
For those stubborn particles, use a small, clean brush to delicately sweep around the scroll wheel. Ensure your movements are precise, focusing on the areas where the wheel meets the housing. This meticulous approach can make a world of difference.
Step 6: Test the Waters
Now that you’ve performed the maintenance, plug your gaming mouse back in and power up your computer. Test the scroll wheel—does it glide smoothly, responding to every twist? If so, you’re on the right track!
Step 7: Repeat if Necessary
If the issue persists, don’t be discouraged. Repeat steps 4 and 5, ensuring a thorough cleaning. Sometimes, a little extra attention is all that’s needed.
Step 8: Enjoy the Smooth Scroll
With your scroll wheel revitalized, you’re ready to dive back into the gaming realm. Enjoy the seamless scrolling and precise control as you navigate through your favorite games and applications.
Remember, your gaming mouse is a tool, and like any tool, it benefits from regular care. By investing a few minutes in scroll wheel maintenance, you ensure a smoother gaming experience for many battles to come. Happy scrolling.
Tackling Double-Clicking Woes
Your gaming mouse, once the epitome of precision, is now giving you an unexpected encore with double clicks. While it might seem like your mouse is celebrating its own party, we know it’s not the festivity you signed up for. Fear not, for we’re about to troubleshoot and bid farewell to those unintentional double clicks:
Step 1: Acknowledge the Issue
Take a moment to observe the pattern of double-clicking. Is it happening across all buttons or just a specific one? Understanding the scope of the issue is the first step toward a resolution.
Best Budget Gaming Monitor for Xbox Series S
Step 2: Check the Warranty Status
Before diving into DIY fixes, check if your gaming mouse is still under warranty. If it is, you might be eligible for a replacement or repair. If not, fear not; there’s still hope for a solution.
Step 3: Gather Your Tools
For this mission, you’ll need a small Phillips-head screwdriver, a steady hand, and a clean workspace. Double-check your determination levels; fixing double-clicking issues is a task for the patient.
Conclusion
Congratulations on successfully navigating the realm of fixing a plastic gaming mouse! Through careful troubleshooting and practical steps, you’ve brought your trusty companion back to life. Remember, the world of gaming is dynamic, and occasional tune-ups are the norm.