
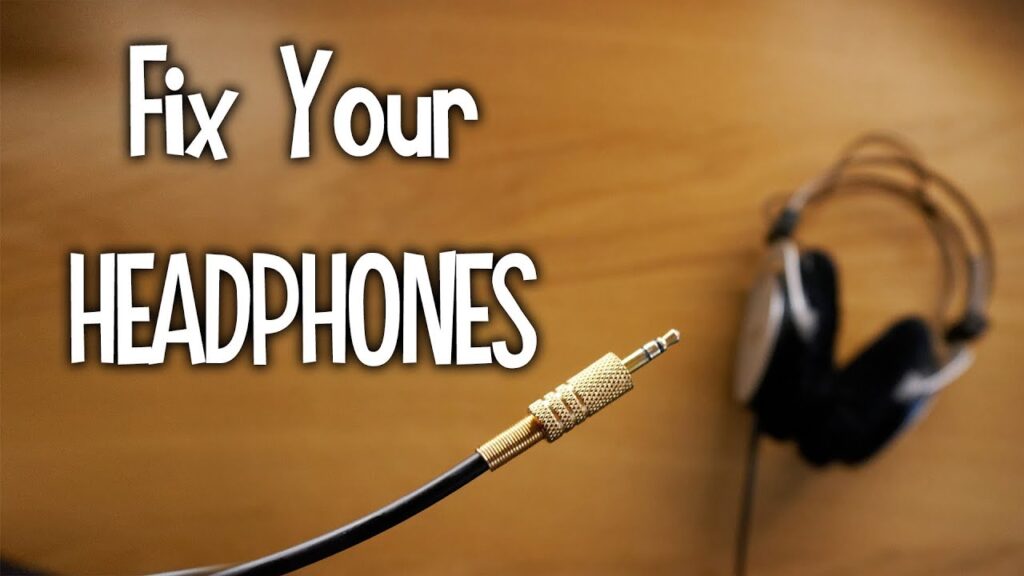
In the realm of gaming, where every gunshot, footstep, and epic soundtrack contributes to the immersive experience, a malfunctioning headset jack can disrupt the harmony. Fear not, fellow gamer, we’re about to embark on a journey to troubleshoot and mend the vital lifeline between you and your virtual adventures. In this guide, we’ll delve into the intricacies of “how to fix a gaming headset jack,” empowering you to reclaim the crystal-clear audio that fuels your gaming passion. So, let’s dive into the world of troubleshooting, armed with knowledge and determination, to ensure your gaming experience remains uninterrupted and extraordinary.
How to fix a gaming headset jack
You’re in the midst of an intense gaming session, and suddenly, the sound from your headset starts playing hide-and-seek. Frustrating, right? Fear not, fellow gamer! We’ve got your back with a straightforward guide on how to resurrect your gaming headset jack,
Here are multiple steps to learn how to fix your gaming headphone jack:
Step 1: Assess the Situation
Begin by calmly unplugging your headset from the jack. Take a moment to inspect the jack and the cable for any obvious signs of wear or damage. Sometimes, the solution is right in front of you.
Step 2: Wiggle It a Little
No, seriously! Gently wiggle the headset plug in the jack while paying attention to any sudden changes in audio. If you notice a sporadic sound, there might be a loose connection. Move on to the next step to address it.
Best Budget Gaming Monitor for Xbox Series S
Step 3: Check for Loose Wires
Examine the cable for any exposed or frayed wires. These troublemakers can wreak havoc on your audio. If you spot any, carefully trim the damaged section and insulate the wires with electrical tape. It’s like first aid for your headset.
Think of it as your headset’s battle scars – a little fix here, and it’s back in action, This step is one of the steps of how to fix a gaming headset jack.
Step 4: Clean the Jack
Dust and debris might be causing connectivity issues. Grab a can of compressed air or a small, clean brush to delicately remove any particles from the jack. A clean jack is a happy jack.
Step 5: Test on Different Devices
Isolate the issue by testing your headset on another device. If the problem persists, it’s likely your headset. If not, the issue might be with your gaming setup. Sherlock Holmes would be proud of your deductive skills.
Step 6: Update Audio Drivers
Head over to your device’s settings and check for audio driver updates. Outdated drivers can sometimes lead to compatibility issues. A quick update might be the magic potion your headset needs.
Understanding the Problem: Unveiling the Mystery Behind Your Silent Headset
You’re gearing up for an epic gaming session, ready to immerse yourself in the virtual world, and suddenly, silence. No gunfire, no epic soundtracks, just an eerie quiet. Fear not, brave gamer, as we embark on a journey to demystify the issues plaguing your gaming headset jack:
Step 1: Identifying Signs of a Faulty Jack
Start by paying attention to the subtle hints your headset might be giving you. Are there intermittent audio disruptions? Is the sound cutting in and out? These are the silent cries for help your headset is sending. Take note of these signs; they’ll guide you to the root of the problem.
Your headset is like a loyal companion, whispering its troubles to you. Listen closely, and you’ll uncover its secrets.
Step 2: Common Causes of Gaming Headset Jack Issues
Let’s delve into the possible culprits behind the curtain of silence. It could be a loose connection, a mischievous frayed wire, or perhaps the jack is playing host to a dust party. By understanding these common issues, you’ll be better equipped to tackle the problem head-on.
Think of your headset as a brave warrior returning from battle, a bit battered and bruised. It’s your duty to tend to its wounds and send it back into the gaming arena.
Prevention Tips: Guarding Your Gaming Sanctuary from Audio Hiccups
Imagine this: you’ve successfully revived your gaming headset from the brink of silence. Now, let’s set the stage for a tale of proactive care and preventive measures. In this chapter, we’ll explore practical steps to ensure your gaming sanctuary remains free from the ominous shadow of audio disruptions:
Step 1: Gentle Handling
Treat your gaming headset with the care reserved for precious artifacts. Avoid yanking the cable or forcefully plugging and unplugging. Think of it as handling a delicate instrument; a gentle touch goes a long way in preserving its longevity.
Envision your headset as a rare instrument in an orchestra, waiting to produce its finest symphony. Your gentle touch is the conductor’s wand, guiding it to perfection.
Best budget gaming monitor for ps4 this year!
Step 2: Proper Storage
When the gaming battlefield is silent, your headset needs a safe haven. Store it in a cool, dry place, preferably on a dedicated headset stand or hook. Avoid tossing it on your desk or cramming it into tight spaces; give it the VIP treatment it deserves.
Picture your headset as a warrior returning from the battlefield. A well-crafted armor (or in this case, proper storage) ensures it’s ready for the next gaming conquest.
Step 3: Mindful Cable Management
The cable, though often overlooked, plays a crucial role. Untangle it gently, and consider investing in cable management solutions to prevent knots and kinks. A well-managed cable not only prolongs the life of your headset but also contributes to a hassle-free gaming experience.
Think of the cable as the lifeline connecting you to your virtual adventures. A well-organized lifeline ensures a smoother journey through the gaming realm.
Step 4: Scheduled Cleanliness
Dust and debris are silent saboteurs. Periodically clean the headset jack and cable connectors with a gentle touch. A can of compressed air or a soft brush can work wonders in keeping the pathways clear.
Imagine your gaming setup as a sacred temple. Regular cleaning rituals ensure a pure and undisturbed gaming experience, free from the interference of dust demons.
By weaving these preventive practices into your gaming routine, you’re not just safeguarding your headset; you’re cultivating a culture of care and respect for your gaming arsenal. With these practical steps, you’re not merely a gamer; you’re the guardian of an audio sanctuary, ensuring uninterrupted symphonies in your digital realms. May your headset always echo with the sounds of victory.
Specialized Solutions: Unleashing the Power of Precision for Your Gaming Headset
Now that we’ve explored the basics, let’s delve into the realm of specialized solutions. Picture this as the advanced training ground for your gaming headset. In this chapter, we’ll equip you with the tools and knowledge needed for precision fixes, ensuring your audio experience reaches new heights:
Step 1: Utilizing a Multimeter for Electrical Insight
Sometimes, the issue goes beyond what meets the eye. Introduce your gaming headset to a multimeter, a digital detective that can uncover electrical anomalies. Measure the resistance and continuity to pinpoint hidden electrical gremlins.
Envision the multimeter as your headset’s trusted sidekick, equipped with the ability to unveil the invisible forces affecting its performance. Together, you embark on a journey of discovery.
Step 2: Soldering Techniques for the Advanced User
For those comfortable wielding a soldering iron, this step is your time to shine. Assess the headset’s wiring for any loose connections, and if needed, delicately solder them back into place. This precision work demands patience, but the rewards are a headset that’s battle-ready.
Imagine your headset as a brave knight with a loose piece of armor. The soldering iron becomes your trusty sword, mending and reinforcing the armor for the epic battles ahead.
Step 3: Seeking Professional Help When Necessary
Know when to call in the cavalry. If the issue persists or seems beyond your expertise, don’t hesitate to reach out to professional technicians. They possess the knowledge and tools to perform intricate repairs without compromising the integrity of your headset.
Frequently Asked Questions
Why is my headset producing a distorted sound?
Dive into Diagnosis: Distorted sound can be a vexing challenge. Check for loose connections, inspect the cable for damage, and ensure the headset is compatible with your device.
What should I do if my headset has no audio at all?
Unearthing the Silent Culprit: Silence is the enemy, but fear not. Check the volume settings on both your device and headset.
Can I fix a frayed headset cable on my own?
DIY Cable Surgery: Absolutely! If you spot a frayed cable, grab some electrical tape.
Is it safe to clean my headset jack with a cotton swab?
Gentle Cleaning Ritual: Indeed, a cotton swab can work wonders, but ensure it’s dry.
Why does my headset work on one device but not on another?
Compatibility Quest: Devices can be finicky. Ensure your headset is compatible with the second device.
Conclusion
In the symphony of gaming, where every crescendo and whisper immerses you in virtual realms, a faulty headset jack can disrupt the harmony. But fear not, noble gamer, for armed with knowledge and practical solutions, you’ve navigated the twists and turns of troubleshooting.