
In the fast-paced world of gaming, few things are as frustrating as encountering performance issues that hinder your immersive experience. One of the common culprits is a disk running at 100%, causing slowdowns and impacting gameplay. If you’ve ever found yourself in the midst of an intense gaming session only to be thwarted by this problem, fear not! In this guide, we’ll explore effective solutions to address the issue of a disk running at full throttle while gaming. By the end of this article, you’ll be equipped with the knowledge to optimize your system and ensure smooth gaming sessions without the dreaded 100% disk usage bottleneck. Let’s dive into the solutions and get your gaming rig back in top shape.
How to fix disk running 100 while gaming
Picture this: you’re deep into a gaming session, navigating virtual worlds with precision and excitement. Suddenly, the game stutters, freezes, and you’re left staring at a loading screen. The culprit? A disk running at a full 100%, putting the brakes on your gaming bliss. Before we jump into solutions, let’s take a calm and calculated look at the potential reasons behind this hiccup:
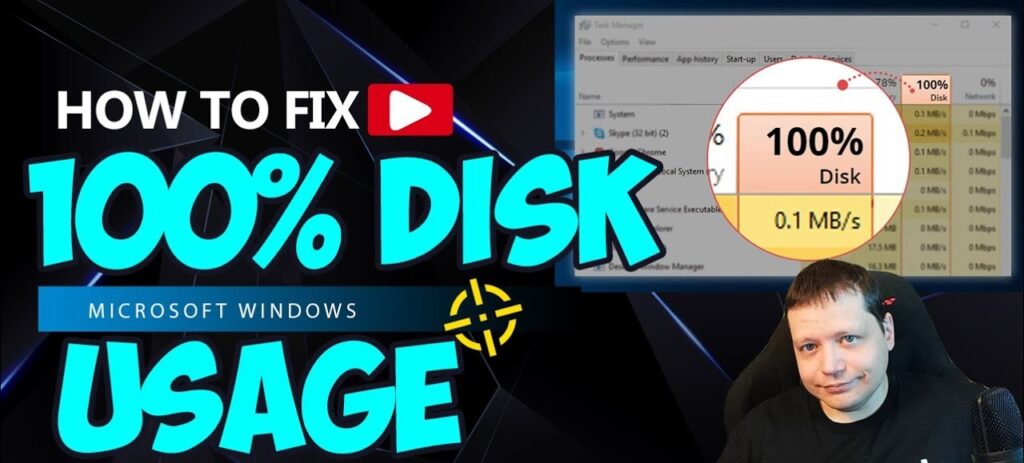
Step 1: Open Task Manager
Start by right-clicking on the taskbar and selecting “Task Manager” from the menu. Once it’s open, head to the “Processes” tab and look for any applications or processes hogging an unusual amount of disk resources.
Best budget gaming monitor for laptop
Step 2: Identify Resource-Hungry Processes
Scan through the list of processes and pay attention to the “Disk” column. This is where the culprits reveal themselves. If you spot an application or process with a high disk usage percentage, take note of it. It could be a background task, an update, or even a misbehaving application causing the 100% disk usage.
Step 3: Utilize Resource Monitor
Now, let’s delve a bit deeper. In Task Manager, click on the “Performance” tab and then “Open Resource Monitor” at the bottom. Here, under the “Disk” tab, you’ll find a comprehensive breakdown of disk activity. Look for specific processes under the “Disk Activity” section and check which ones are using the most resources.
Step 4: Investigate Event Logs
For a more comprehensive understanding, let’s explore the event logs. Press the “Windows” key + “X” and select “Event Viewer.
Navigate to “Windows Logs” and choose “System.” Look for any critical or error messages related to disk issues.
These logs might provide valuable clues about the root cause of the 100% disk usage problem.
By following these steps, you’re not just troubleshooting; you’re embarking on a detective mission to uncover why your disk is working overtime.
Patience is the key, and with a methodical approach, you’ll soon have a clearer picture of what’s causing the 100% disk usage during your gaming endeavors. Let’s move on to the next steps and work towards resolving this issue for good.
Best Budget Gaming Monitor for Xbox Series S
Diagnostic Steps: how to fix disk running 100 while gaming
Alright, let’s roll up our sleeves and start diagnosing that pesky 100% disk usage issue while gaming. Think of it as giving your gaming rig a thorough check-up – we’re looking for the problem’s heartbeat. Follow these steps, and we’ll get to the bottom of it:
Step 1: Task Manager Check-up
Begin by opening Task Manager. A right-click on the taskbar does the trick. Once you’re in, head over to the “Processes” tab. Here, we’re on the lookout for any process that’s devouring more disk resources than it should. Keep an eye on the “Disk” column – it’s your detective tool.
Step 2: Sort and Identify
Click on the “Disk” column to sort processes by disk usage. The ones at the top are the suspects. Note down any applications or processes with abnormally high percentages. These could be the troublemakers causing your disk to hit the 100% mark.
Step 3: Resource Monitor Dive
For a closer inspection, open the Resource Monitor. Click on the “Performance” tab in Task Manager and hit “Open Resource Monitor.” Navigate to the “Disk” tab, and under “Disk Activity,” you’ll find a detailed breakdown of what’s sapping your disk’s energy. Pay attention to the highest contributors.
Step 4: Event Viewer Investigation
Time to play detective in the Event Viewer. Press “Windows” key + “X,” select “Event Viewer,” and head to “Windows Logs” -> “System.” Look for any critical or error messages related to disk issues. These logs might spill the beans on the underlying problem.
Now, armed with insights from Task Manager, Resource Monitor, and Event Viewer, you’ve got a good idea of what’s causing the 100% disk usage. Stay with me – we’re not done yet. In the next steps, we’ll tackle these issues head-on and get your gaming rig back to its optimal performance. Ready for the next level of troubleshooting? Let’s dive in.
Best budget gaming monitor for ps4 this year!
Malware and Antivirus Scans
Now, let’s talk about a potential culprit that might be lurking in the shadows of your gaming sanctuary – malware. These virtual villains can wreak havoc on your system, causing your disk to work overtime. Don’t worry; we’ve got the tools to kick them out.
Step 1: Update Your Antivirus Software
Before diving into the scan, ensure your antivirus software is up to date. Think of it like giving your guards the latest equipment to fend off intruders. Open your antivirus program, check for updates, and let it grab the latest definitions.
Step 2: Full System Scan
Initiate a full system scan. This is the deep clean, where your antivirus software combs through every nook and cranny of your system. Kick back and let it do its thing. Depending on your system’s speed and the size of your storage, this might take some time.
Step 3: Isolate and Remove Threats
If the scan detects any malicious entities, don’t panic. Your antivirus software will likely give you options to quarantine or remove the threats. Follow its recommendations and let the software work its magic. It’s like evicting unwanted guests from your gaming party.
Step 4: Verify Antivirus Settings
Once the scan is complete, take a moment to check your antivirus settings. Ensure real-time protection is active, and scheduled scans are in place. This ensures ongoing security, like having guards patrolling your gaming realm regularly.
Think of your antivirus as the guardian of your gaming castle. Sometimes, invaders sneak in, but with a vigilant guard and a well-executed strategy, you can reclaim your territory.
By conducting a thorough malware and antivirus scan, you’re not just protecting your system; you’re ensuring a secure haven for your gaming adventures. Now that we’ve tackled the potential malware menace, let’s move on to the next steps and continue the quest for a smoothly running disk during gaming sessions. Ready to press on? Let’s go.
Disk Cleanup and Optimization
Imagine your gaming rig as a finely tuned race car. Over time, it accumulates unnecessary baggage, slowing it down. The same goes for your computer’s disk – it can get cluttered, affecting its performance. Fear not; we’re here to streamline and optimize, just like a pit stop for your gaming machine.
Step 1: Disk Cleanup Wizard
Start by invoking the Disk Cleanup wizard. It’s like decluttering your gaming lair. Press the “Windows” key, type “Disk Cleanup,” and select the tool. Choose the disk you want to clean (usually, it’s the C: drive), and let the wizard calculate the potential space you can reclaim.
Step 2: Select Files to Delete
The wizard presents a list of file categories. Check the boxes next to the types of files you want to clean. These often include temporary files, system cache, and other non-essential items. Think of it as tidying up your gaming space by tossing out unnecessary items.
Step 3: Confirm and Clean
Once you’ve made your selections, hit “OK” to confirm. The wizard will ask for confirmation to proceed with the cleanup. Confirm again, and let it do its work. It’s like giving your gaming rig a fresh start, free from unnecessary baggage.
Step 4: Disk Optimization
Now, let’s move beyond cleanup to optimization. Press the “Windows” key, type “Defragment and Optimize Drives,” and select the tool. Choose your disk and click “Optimize.” This process rearranges data on your disk, making it more efficient and reducing the chances of 100% disk usage during gaming.
Consider disk cleanup as organizing your gaming setup. You’re tossing out the pizza boxes and organizing the cables. Optimization, on the other hand, is like fine-tuning your gaming rig for peak performance.
By regularly cleaning up and optimizing your disk, you’re ensuring a smoother gaming experience. Now that we’ve cleared out the clutter, let’s explore more steps to keep your gaming rig in top shape. Ready for the next level of optimization? Let’s dive in.
Conclusion
Congratulations! You’ve embarked on a journey to reclaim the joy of gaming by tackling the notorious 100% disk usage issue. As we wrap up our troubleshooting adventure, remember that optimizing your gaming rig is an ongoing process, much like maintaining a high-performance vehicle, By understanding the causes, conducting thorough diagnostic steps, addressing potential malware threats, and performing essential disk cleanup and optimization, you’ve equipped yourself with the tools to overcome the challenges that may arise during intense gaming sessions.