
In the fast-paced realm of gaming, where split-second decisions can be the difference between victory and defeat, the last thing any gamer needs is a malfunctioning controller. Whether it’s sticky buttons, connectivity glitches, or the gradual accumulation of gaming residue, your trusty controller deserves some TLC to ensure it stays in top-notch condition. In this comprehensive article, we’ll delve into the art of not only cleaning but also fixing gaming controllers, empowering you to revive and maintain the lifeline of your gaming adventures. Say goodbye to frustrating button delays and unsightly grime, as we embark on a journey to discover the essential steps and insider tips on How to fix and clean a gaming controllers like a seasoned pro. Get ready to elevate your gaming experience by giving your controllers the care they deserve.
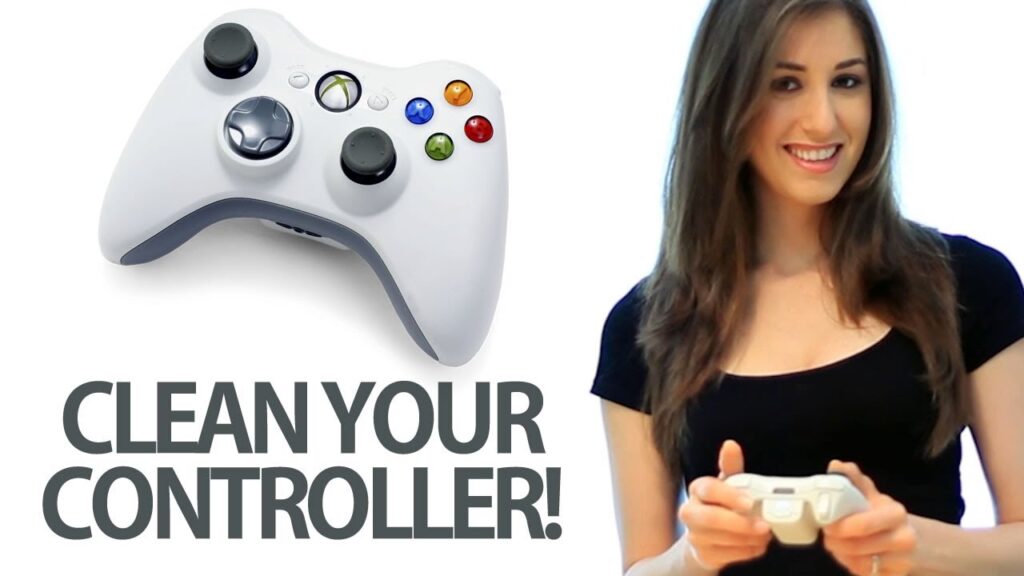
How to fix and clean gaming controllers
Step 1: Set the Stage for Success
Before diving into the nitty-gritty of cleaning your gaming controller, create a dedicated workspace. Find a clean, flat surface with ample lighting where you can spread out and work comfortably. This will not only make the process more organized but also help prevent any accidental mishaps.
Step 2: Power Down and Disconnect
Ensure your controller is disconnected from the gaming console or PC. If your controller uses batteries, remove them. This step ensures your safety and prevents any potential damage during the cleaning process.
Best Budget Gaming Monitor for Xbox Series S
Step 3: Gently Disassemble (If Possible)
If your controller allows for it, gently disassemble it. Check your controller’s manual for guidance on safe disassembly. This step gives you better access to those hard-to-reach places where dust and grime may be hiding.
Step 4: Wipe Down the Exterior Surfaces
Take a soft, lint-free cloth and dampen it slightly with a mixture of water and a small amount of mild detergent. Wipe down the exterior surfaces of the controller, paying extra attention to areas prone to dirt buildup, such as seams and edges. Avoid excessive moisture and never spray liquids directly onto the controller.
Step 5: Tackle Buttons and Crevices
For the buttons and crevices, a cotton swab slightly dampened with the cleaning solution works wonders. Gently clean around the buttons, analog sticks, and any other crevices where dirt tends to accumulate. Be meticulous but delicate to avoid damaging sensitive components.
Step 6: Dry Thoroughly
Once you’ve wiped and swabbed every nook and cranny, let the controller air-dry completely. This step is crucial to prevent any potential damage that moisture might cause. Avoid the temptation to speed up the process with a hairdryer; patience is the key.
Step 7: Reassemble and Reconnect
If you’ve disassembled your controller, carefully put it back together. Ensure all components are securely in place. Reconnect the controller to your gaming device, and power it up to make sure everything is functioning as it should.
Step 8: Final Touch – Optional but Recommended
For an added layer of cleanliness, consider using a disinfectant wipe on the controller’s surfaces. This is particularly beneficial for shared controllers or during flu seasons,.
There you have it – a revitalized and squeaky-clean gaming controller ready to tackle your next gaming marathon. Regularly repeating these steps will not only keep your controller in peak condition but also enhance your overall gaming experience. Happy gaming.
Best budget gaming monitor for laptop
Tools and Materials Needed: Equipping Yourself for Success
Gathering the right tools and materials is the first step to ensure your gaming controller cleaning mission goes off without a hitch. Here’s a practical guide to what you’ll need:
Soft, Lint-Free Cloth: The Gentle Giant
Think of this cloth as your controller’s best friend. Opt for a soft, lint-free cloth to avoid leaving behind any unwanted fibers on your controller. This will be your primary tool for wiping away the grime:
- Cotton Swabs: Navigating the Nooks and Crannies
- Cotton swabs are your secret weapon for those tiny, hard-to-reach places.
- They’re perfect for precision cleaning around buttons, analog sticks, and any other intricate parts of your controller.
Isopropyl Alcohol or Mild Detergent: The Cleaning Elixir
Create a cleaning solution by mixing isopropyl alcohol with water or using a mild detergent. This solution helps break down and lift away dirt and oils from the surfaces of your controller. Remember, a little goes a long way:
- Disinfectant Wipes: A Finishing Touch
- Consider using disinfectant wipes for that extra layer of cleanliness, especially if you share your gaming setup with others.
- This optional step can provide peace of mind, ensuring your controller is not just clean but also hygienic.
Screwdriver (if applicable): The Unsung Hero
If your controller allows for disassembly, keep a screwdriver handy. This tool will help you gently open up your controller for a more thorough cleaning. Consult your controller’s manual for guidance on proper disassembly:
- Compressed Air: Blasting Away the Dust Bunnies
- For stubborn dust lodged in hard-to-reach areas, a can of compressed air is your ally.
- A few strategic bursts can dislodge dust particles without the need for physical contact.
Water-Resistant Electronics Bag (optional): Safety First
If you’re concerned about moisture getting inside your controller, consider placing it in a water-resistant electronics bag during the cleaning process:
- This precaution adds an extra layer of protection, especially if you need to use a damp cloth or cotton swab.
- Now that you’ve gathered your arsenal of cleaning tools and materials, you’re ready to embark on the journey to restore your gaming controller to its former glory.
- So, roll up your sleeves, gather your supplies, and let’s give your trusty controller the TLC it deserves, Your gaming sessions will thank you.
Troubleshooting and Fixing Common Issues: Navigating the Gaming Controller Maze
The frustrations of a sticky button or a controller that seems to have a mind of its own. Fear not, fellow gamer! Let’s troubleshoot and fix those common issues step by step, bringing your trusty controller back to its responsive and reliable self.
Best budget gaming monitor for ps4 this year!
Sticky Buttons: The Culprit of Clumsy Combos
Diagnosis:Sticky buttons can throw a wrench into your gameplay, causing delays and disrupting your combos. The culprit? Likely a buildup of grime or residue around the buttons.
Fix: Begin by powering down and disconnecting your controller.
- Dampen a cotton swab with your cleaning solution.
- Gently clean around the edges and surfaces of the sticky button, ensuring you reach all sides.
- Press the button repeatedly while cleaning to work the solution into the mechanism.
Allow the controller to air-dry thoroughly before reconnecting
- Connectivity Issues: Reconnecting the Threads
- Diagnosis: Is your controller playing hide-and-seek with your gaming console? Connectivity issues might be at play, often caused by interference or a faulty connection.
- Fix :Check for interference: Ensure there are no electronic devices or Wi-Fi routers causing interference.
- Reconnect wirelessly: If using a wireless controller, re-sync it with your gaming console following the manufacturer’s instructions.
- Test with a different cable: If using a wired controller, try a different USB cable to rule out a faulty connection.
- Update firmware: Check for firmware updates for both your controller and gaming console.
Drift or Calibration Problems: The Unwanted Game Navigator
- Diagnosis: If your character starts wandering on its own, you’re dealing with joystick drift or calibration issues.
- This can be caused by wear and tear or calibration settings gone awry.
- Fix:Power down and disconnect your controller.
- Clean around the analog sticks using a cotton swab and cleaning solution.
- Check calibration settings in your console or game settings menu.
- Recalibrate analog sticks following your console’s instructions.
- If the problem persists, consider updating your controller firmware.
- Remember, patience is your ally in troubleshooting. Take each step deliberately, and test your controller after each fix to gauge improvement. Your gaming adventures are about to get smoother, one fixed controller at a time.
Tips for Maintaining Long-Term Controller Health: Sustaining the Lifeline
Your gaming controller is more than a tool; it’s a conduit to your virtual realms, your loyal companion in countless victories and defeats. To ensure this trusty sidekick remains in peak condition for the long haul, let’s explore some practical tips for maintaining its long-term health:
Regular Cleaning Schedule: A Spa Day for Your Controller
- Why it matters: Imagine if you never washed your hands; grime would build up, and things would get a bit unpleasant. The same goes for your controller. Regular cleaning prevents the accumulation of dust, dirt, and gaming residue, ensuring smooth operation.
- How to do it? Establish a routine: Set a regular schedule for controller cleaning. Monthly sessions are usually sufficient but adjust based on your gaming habits.
- Quick wipe-downs: Between deep cleaning sessions, give your controller a quick wipe-down after intense gaming sessions to remove surface dirt.
Conclusion
In the ever-evolving landscape of gaming, your controller stands as the unsung hero, the conduit translating your every move into the digital realm. As we wrap up this journey of discovery on How to fix and clean a gaming controllers, remember that the TLC you invest in your trusty companion directly impacts the quality of your gaming adventures.